Anyone out there love Halloween as much as I do? I know not everyone does, and that’s okay. I don’t know why I love it so much, honestly, but I think it has something to do with how it brings out the kid in me! Beautiful friends, I am coming to you today as part of the Seasonal Simplicity Series hosted by my lovely friend, Krista of The Happy Housie.
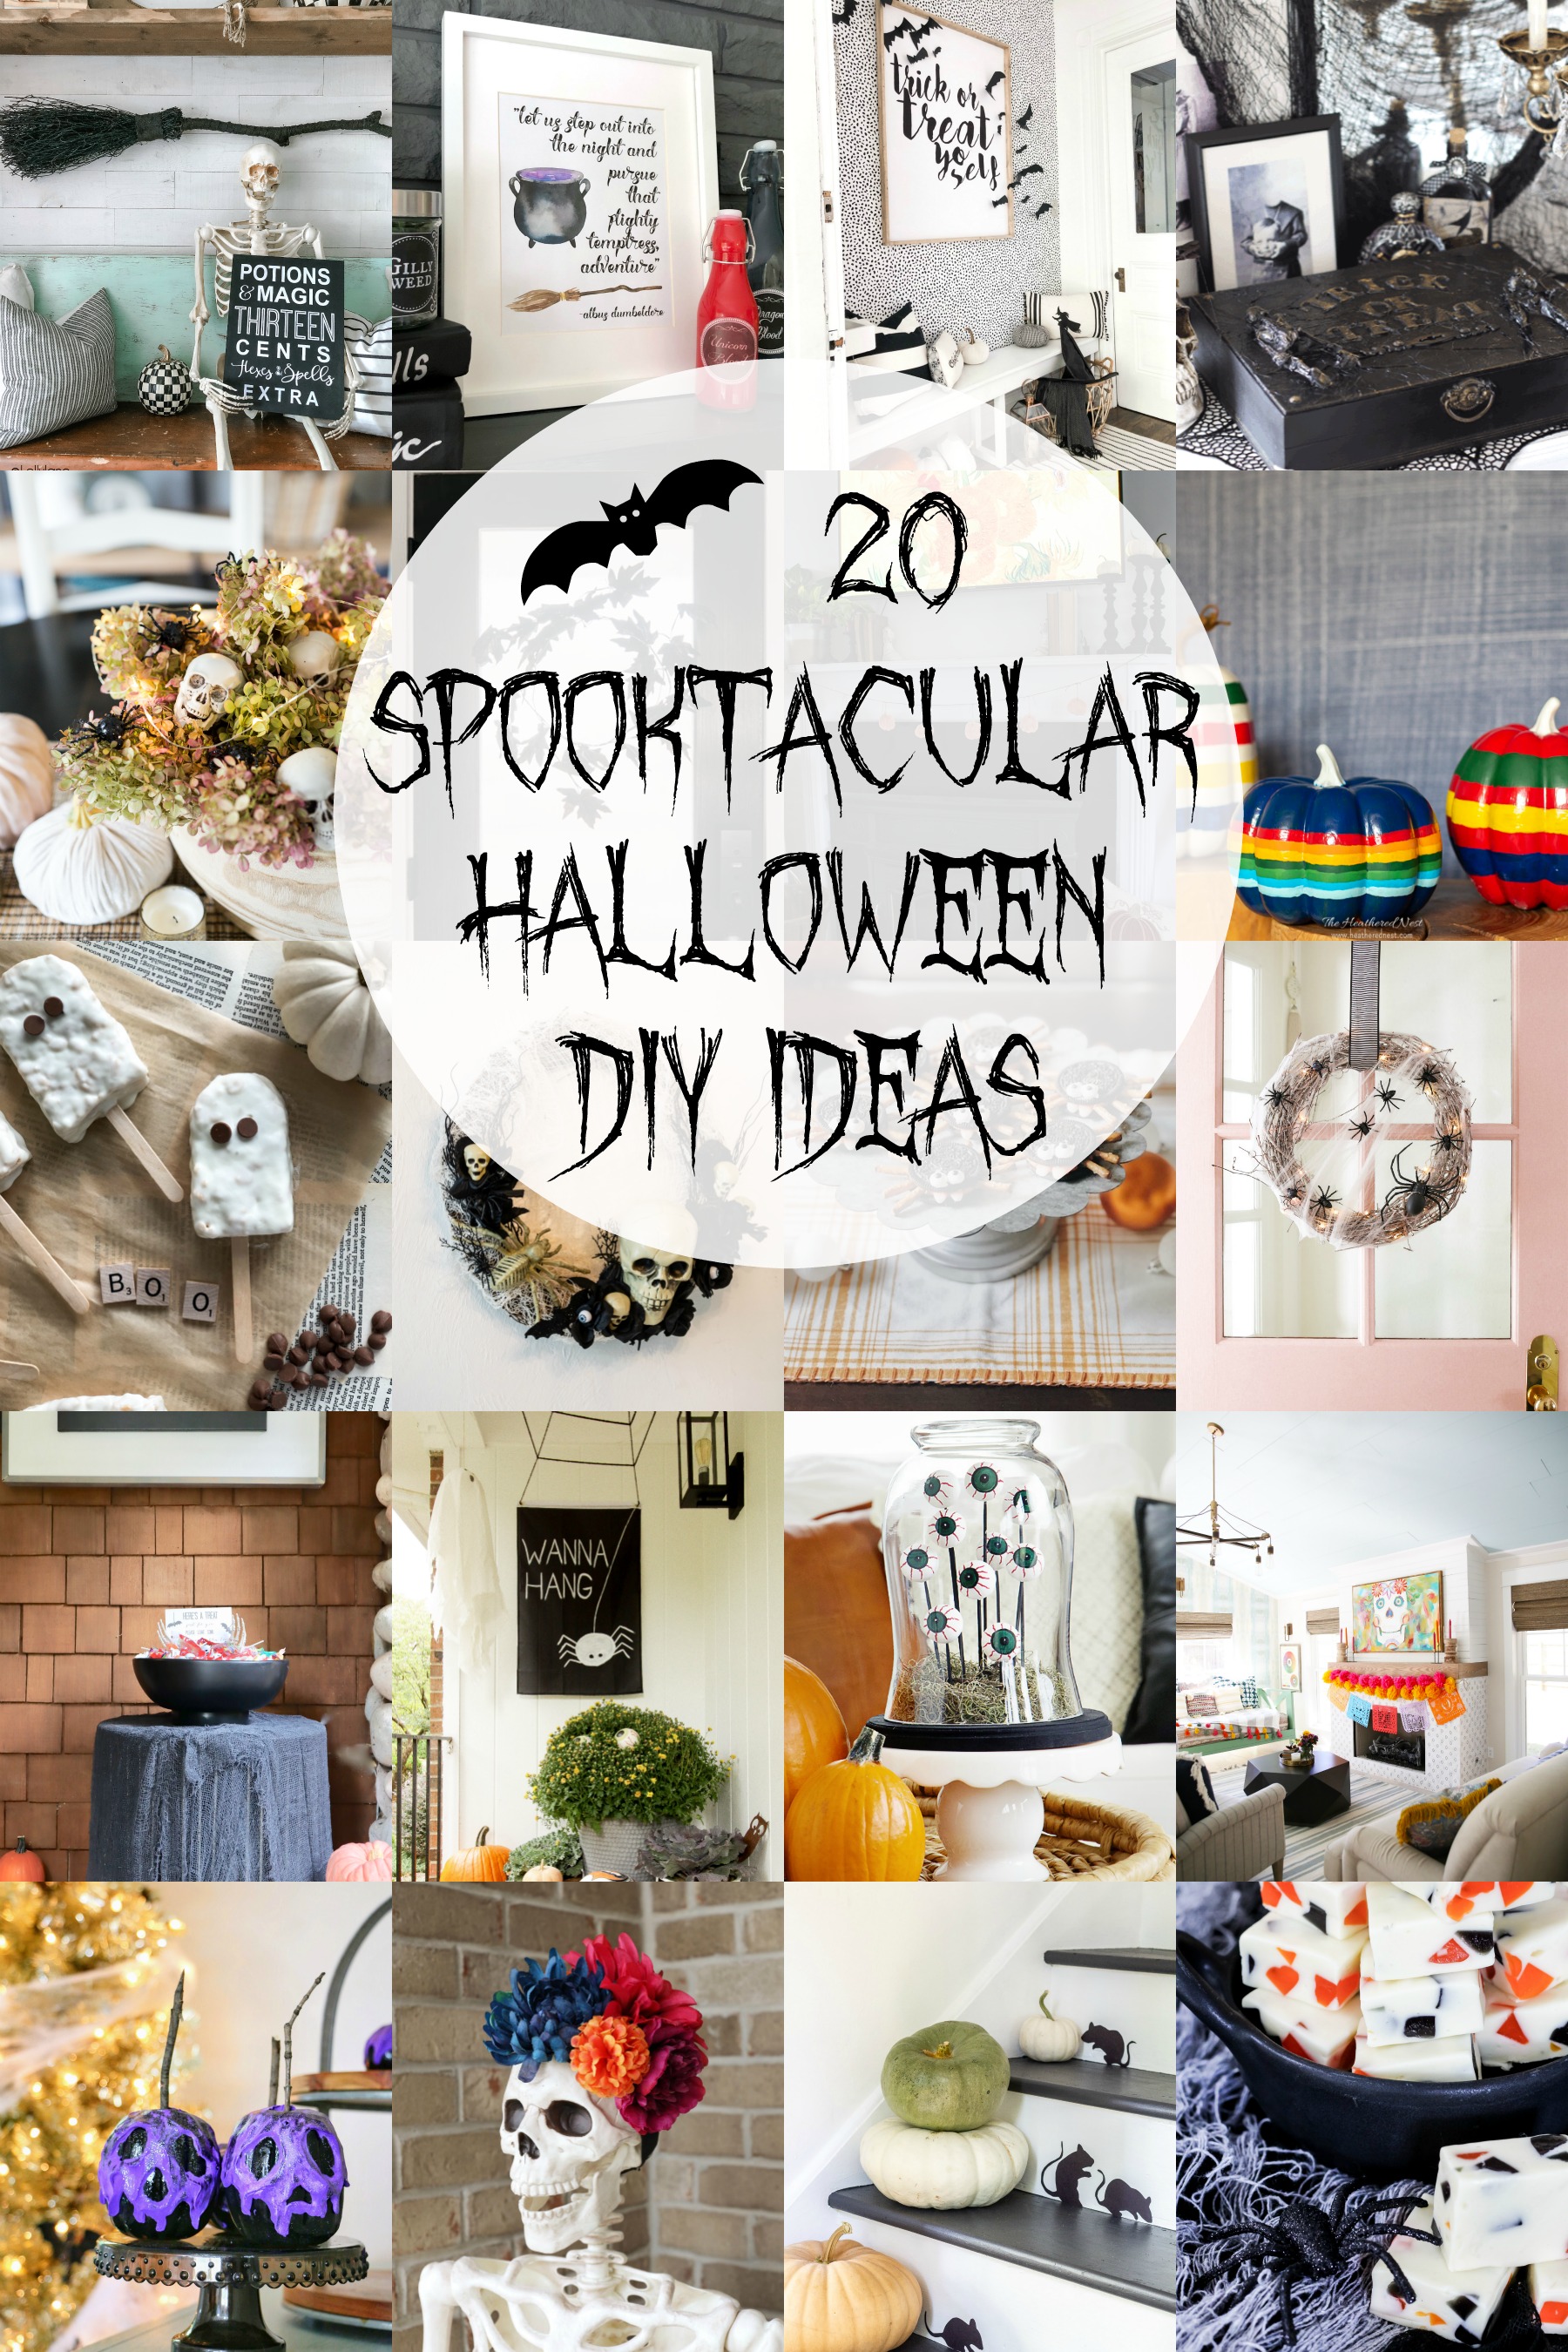
Today we are sharing easy DIY Halloween ideas. You’ll find links to even more fun inspiration from my friends on the tour at the bottom!
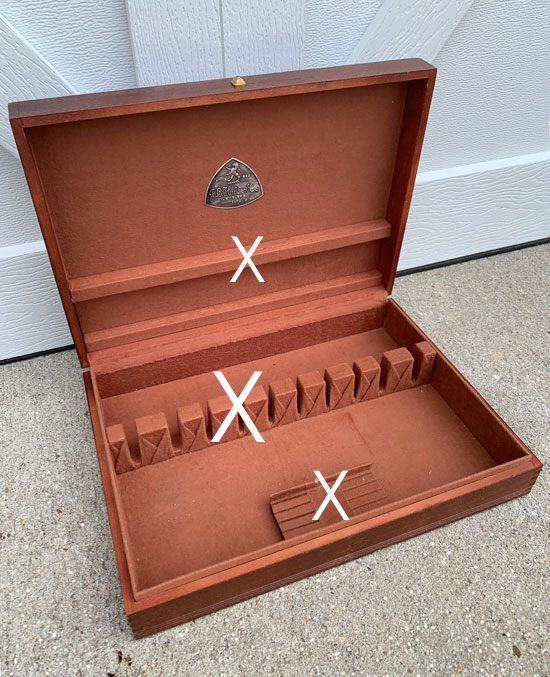
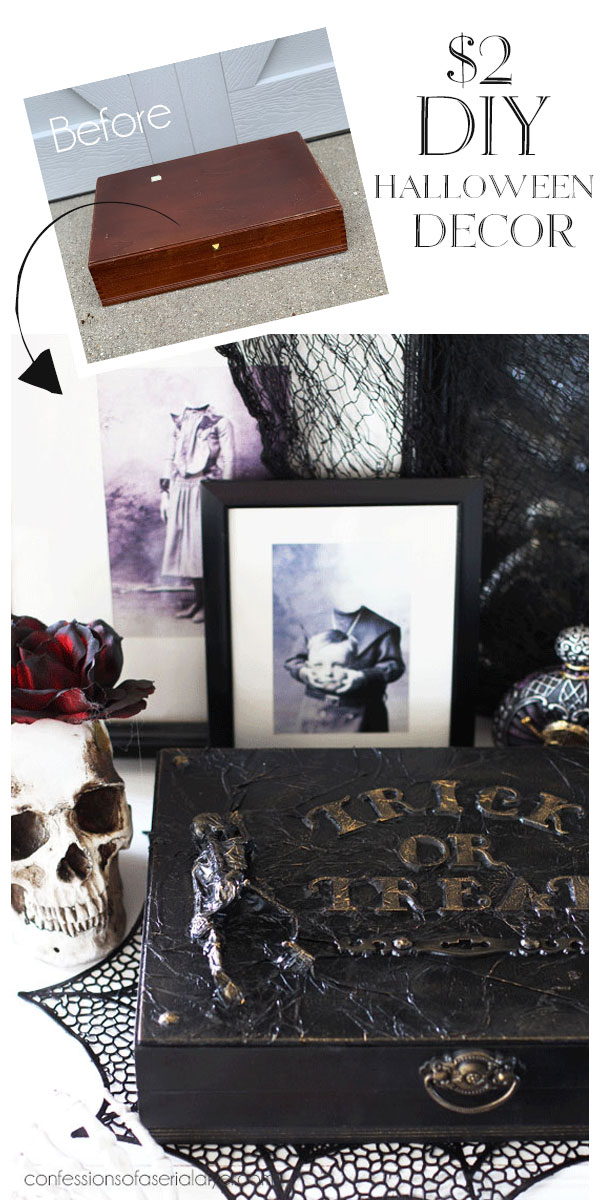
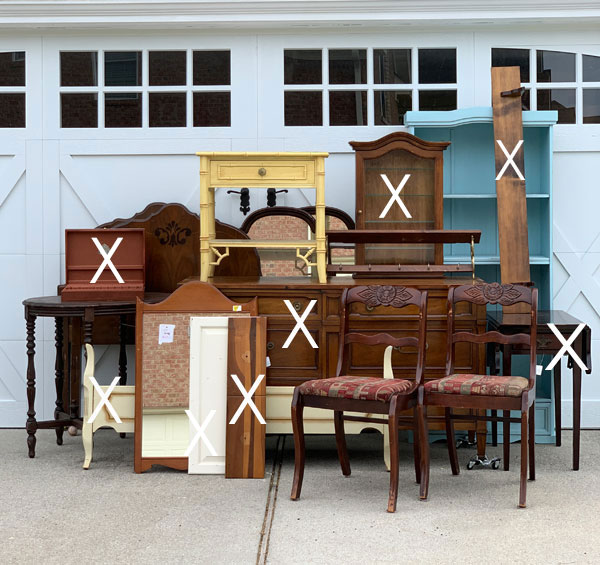
Because I am working through my Fall haul at the moment, I wanted to use something from that group. I decided this flatware box I picked up at the thrift store for less than $2 would be perfect:
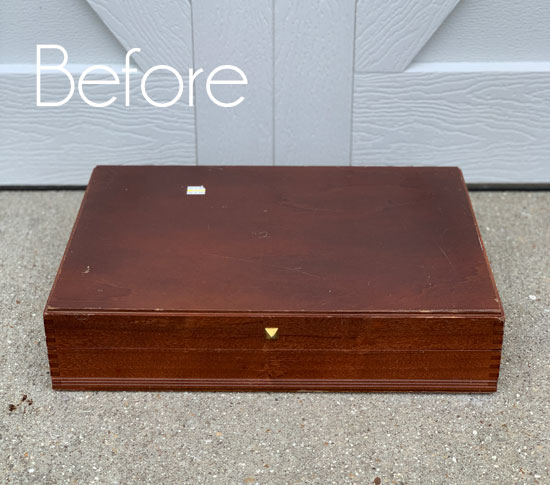
It was marked $3.25, but all yellow tags were half off, so for $1.63, I just couldn’t leave it behind.
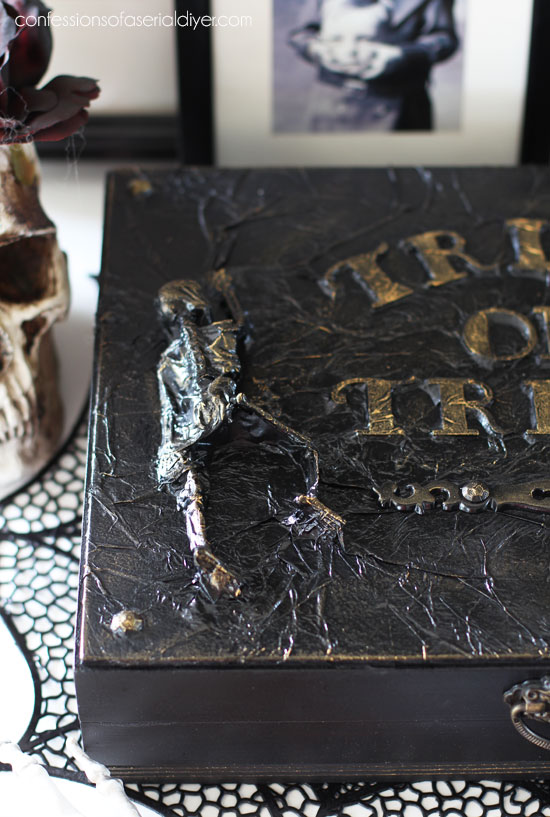
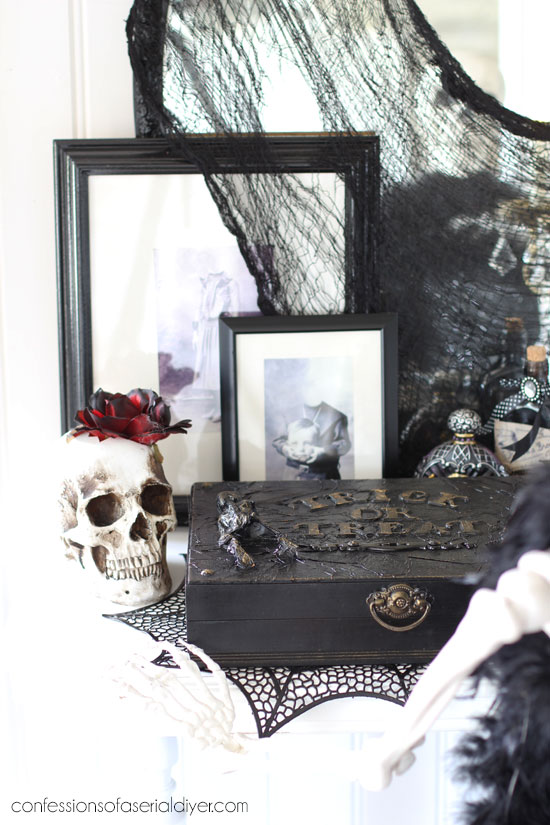
It made for a fun Halloween prop!
I’ve included a few affiliate links so you can find the products I love.
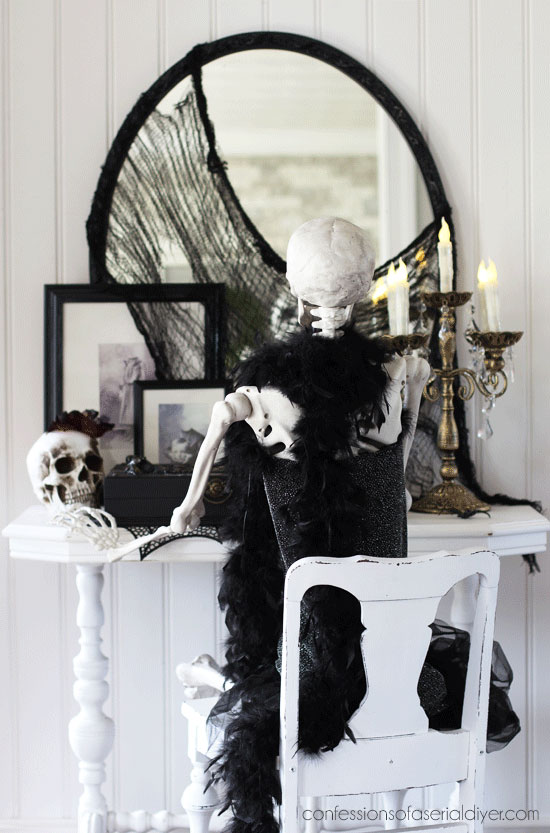
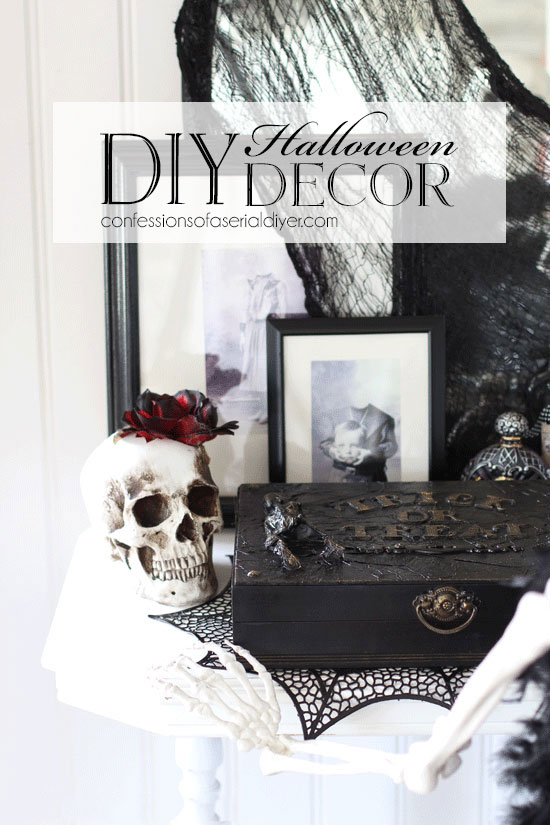
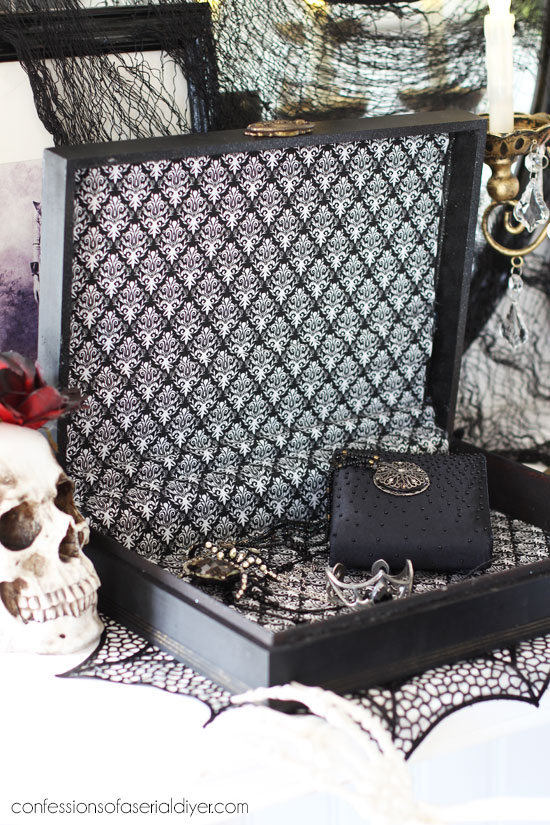
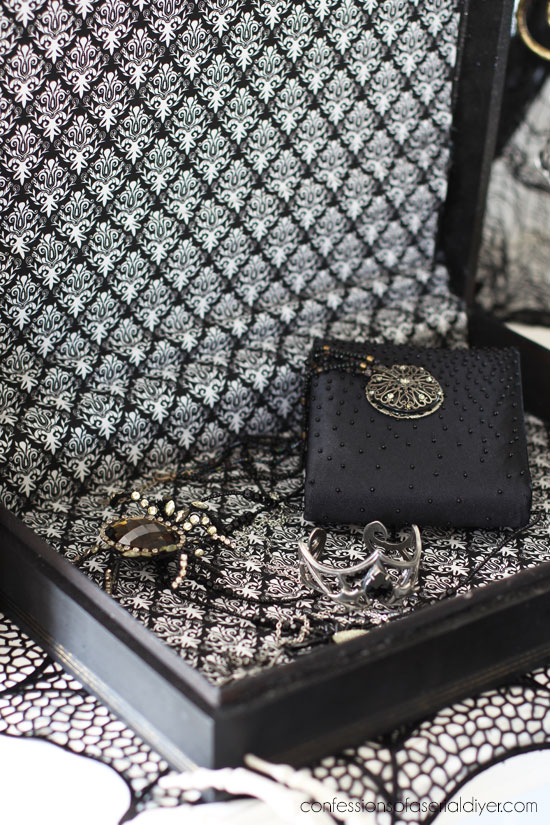
Every lady needs a place to keep her jewels, right?
This was really fun to make. I came across a site called Around R House back in 2013 that shared amazing books made to look like spellbooks. Her Halloween vignettes were amazing! I used them as inspiration for this pumpkin I redid back then:
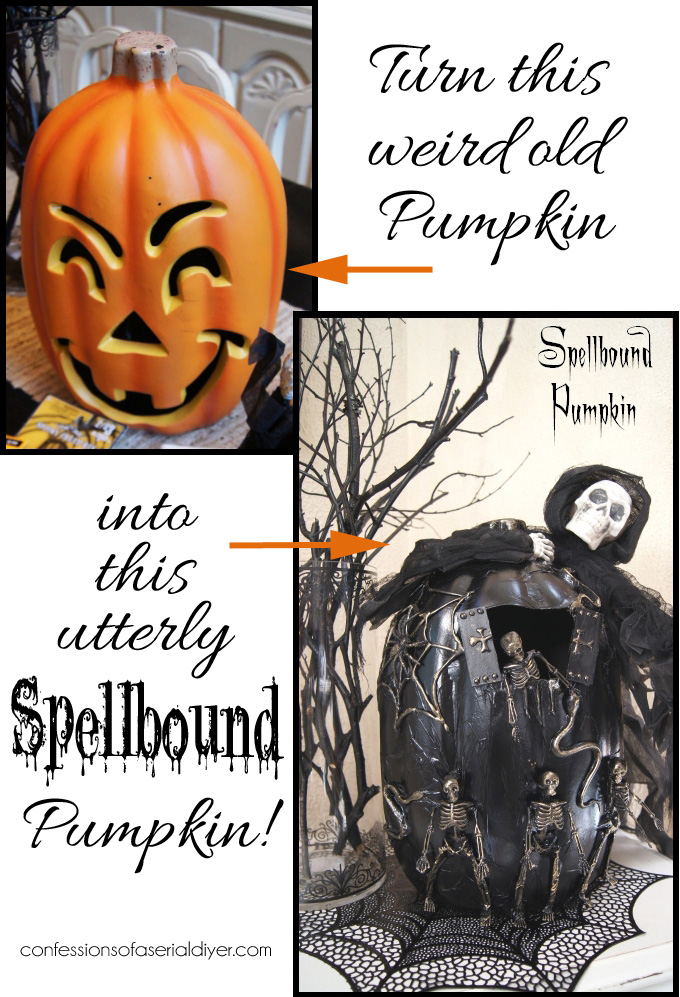
Wow, 2013 seems so long ago, doesn’t it? See this pumpkin makeover HERE.
Unfortunately, her blog no longer exists, but I channeled her spellbooks once more to create my Halloween treasure box.
I started by painting the box black with Caviar:
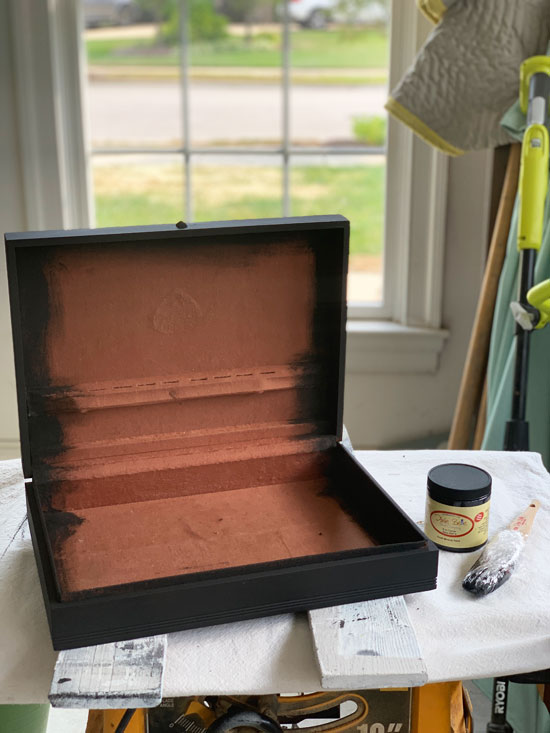
You can also see that I removed some of what was on the inside:
I found some sparkly glitter black spray paint in the garage and decided to hit the parts of the insides that would be showing with it. (I would skip the sparkles next time.)
To cover the ugly insides that were left, I cut a piece of fabric to fit from top to bottom. I cut it the exact width but left it a bit long so I could trim it the right size as I was finishing.
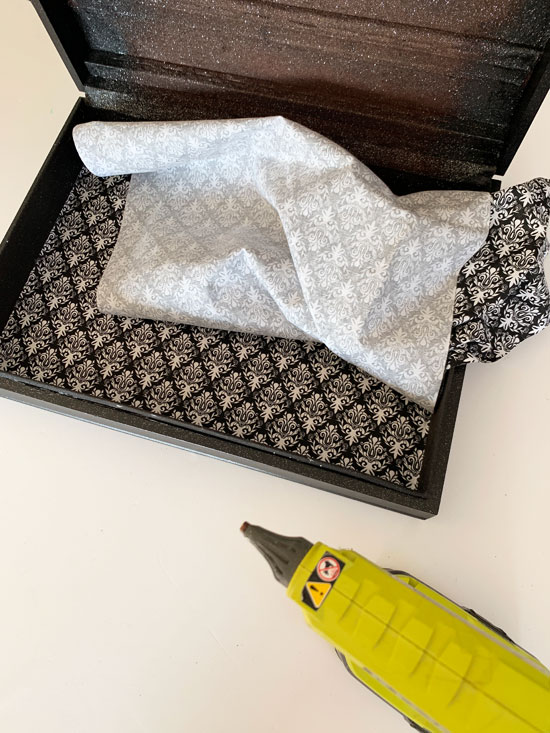
I just hot glued it all in place with my hot glue gun.
The pattern hides any imperfections:
Then I moved on to the top of the box. I collected several items that could possibly work to decorate my box:
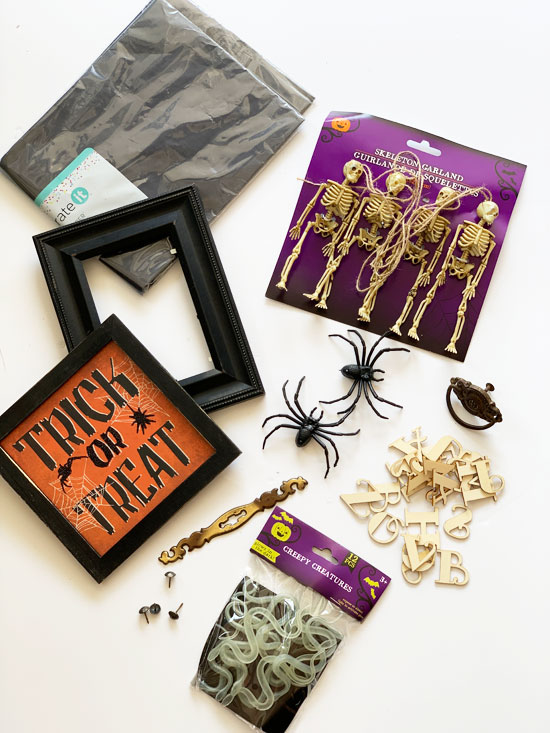
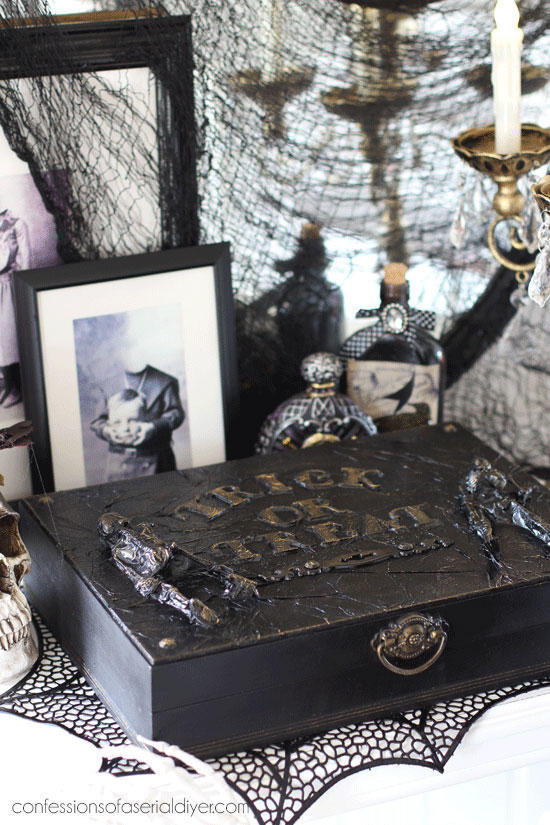
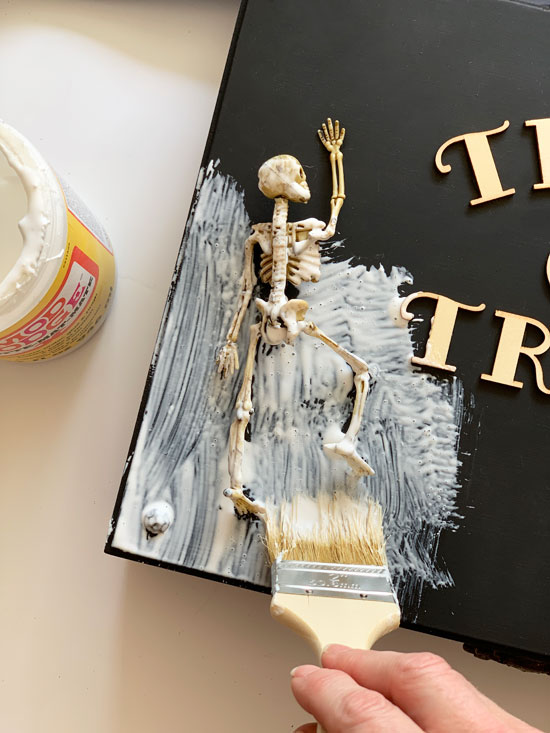
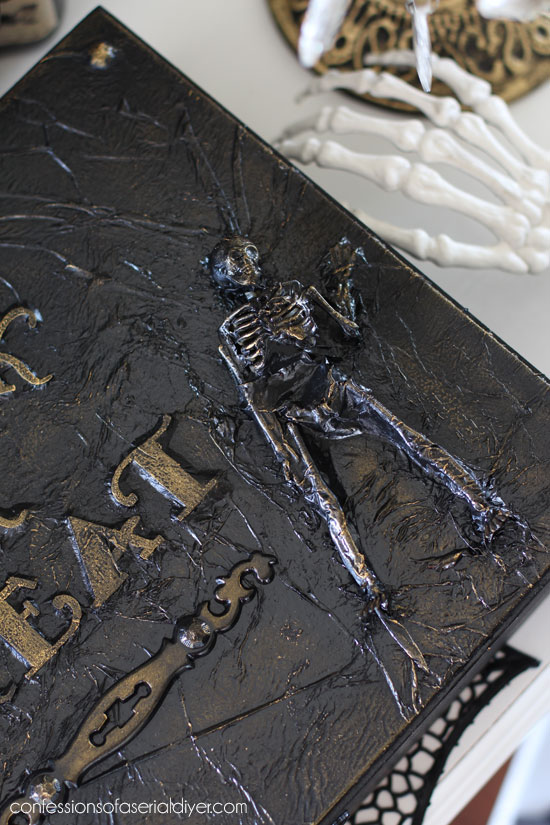
In the end, I kept it pretty simple with these letters I picked up at Hobby Lobby and some dollar store skeletons:
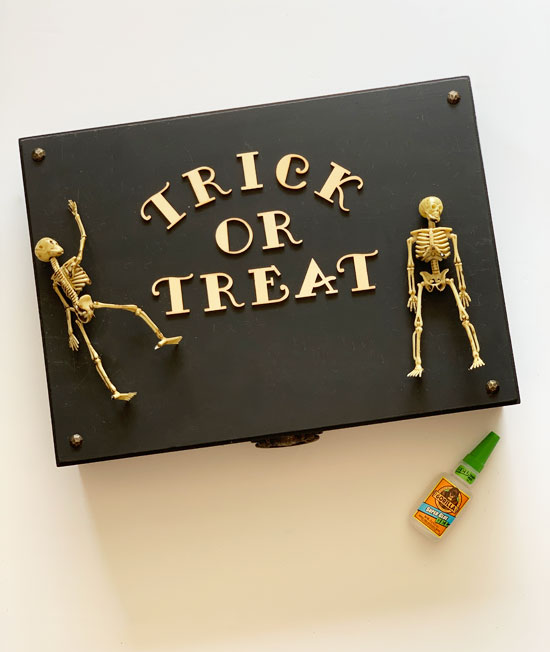
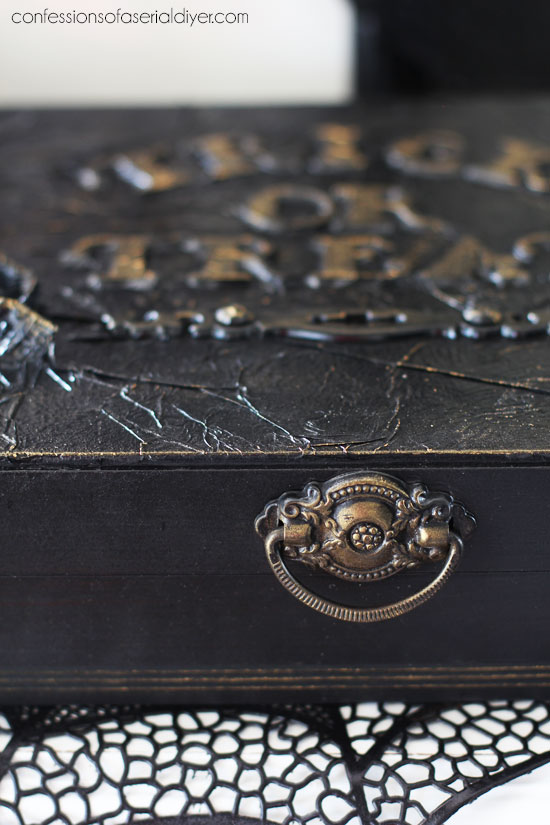
The skeletons aren’ t supposed to be posable, but I was able to manipulate the plastic enough on one of them to give it a different pose. I used Gorilla Glue to adhere everything to the box. The four corners got nail heads that had I removed from another project, and I replaced the pull on the front with a vintage one I had in my stash.
When the pieces were secure, I added a layer of matte Mod Podge on the top only using a chip brush, working in sections:
I placed black tissue paper right over everything, lightly tapping it into all the crevices with my chip brush and adding more Mod Podge on top of the tissue paper…
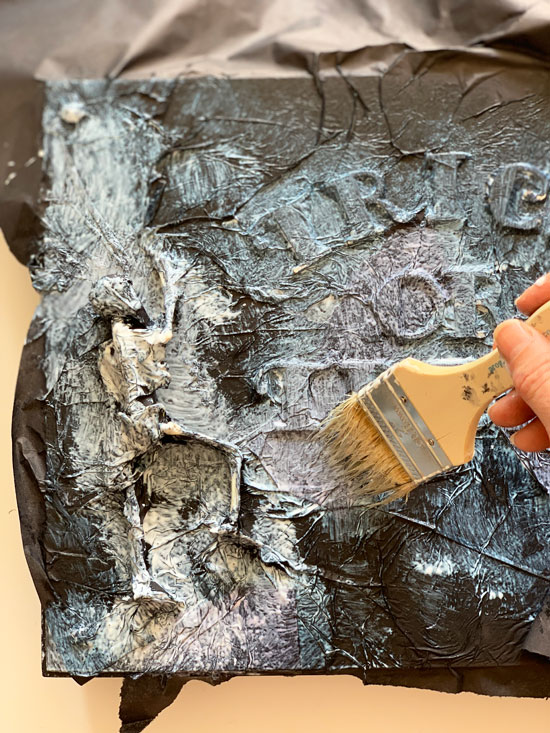
This was to mimic the look of leather.
When I used the tissue paper on my pumpkin I shared above, I added the skeletons after, but I decided to “embed” the skeletons into the surface with the tissue paper this time and I like the effect.

I allowed it dry before trimming the edges with a razor blade.
When it was completely dry, I gave everything a light coat of Rustoleum black satin spray paint.
Then to highlight the letters, I applied Dixie Belle’s Gilding wax in Warm Gold with my finger:
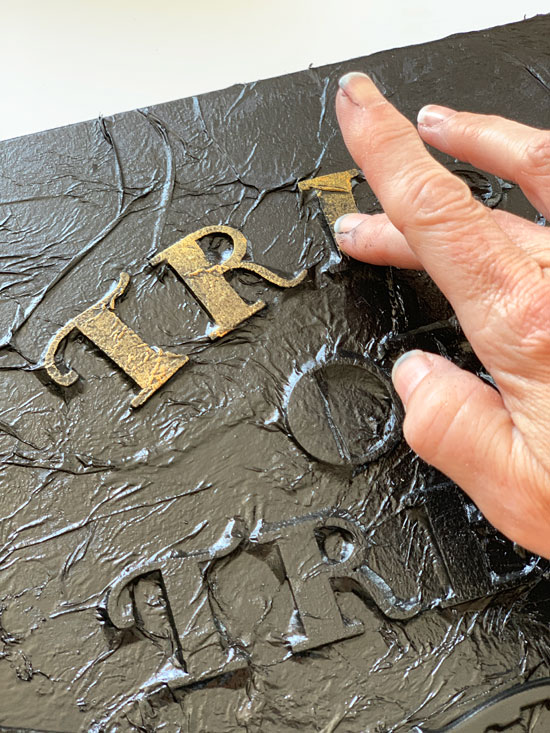
Gold Rub n Buff would work well too if you already have that.
I also added some to the skeletons and to the surface of the box to bring out the details and add a little dimension.
I also hit up the pull I added to the front…


This was such a fun project to work on!
For even more DIY Halloween ideas, visit my friends below!
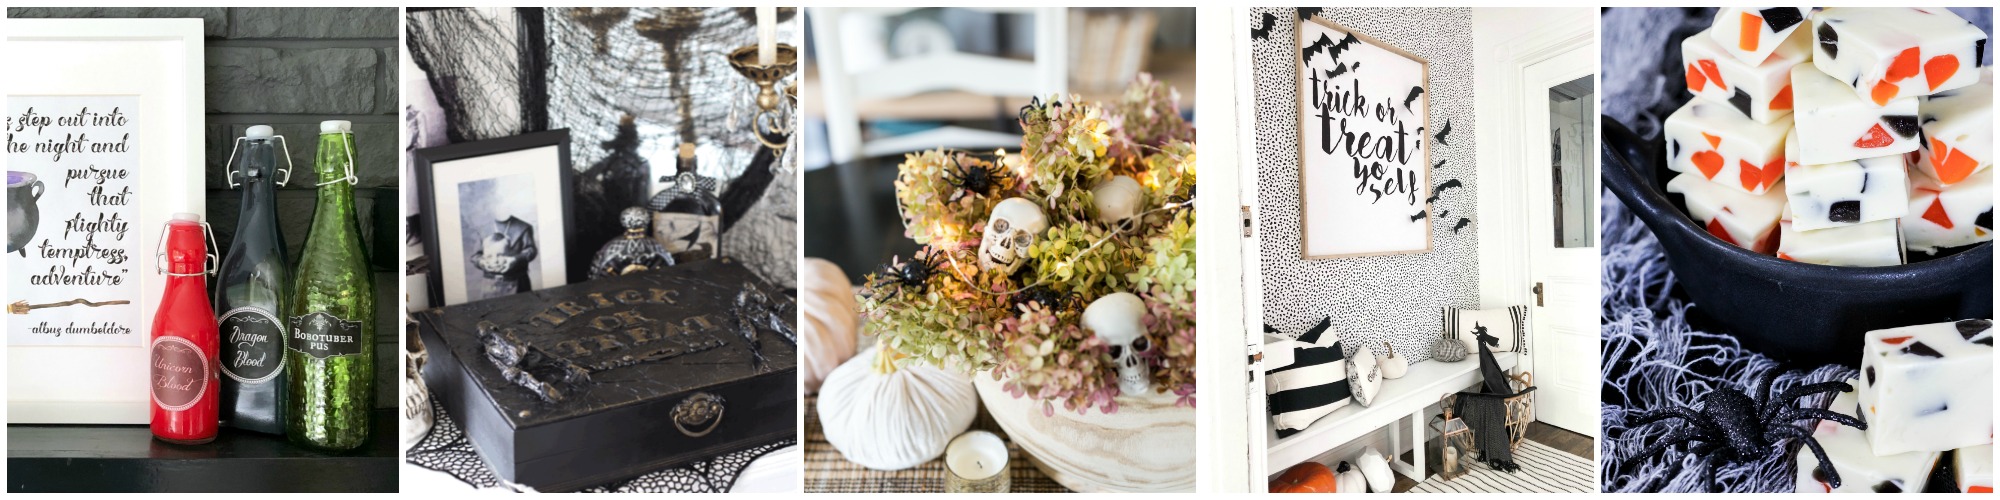
DIY Potion Bottles with Printable Labels at The Happy Housie
DIY Halloween Prop from $2 Flatware Box at Confessions of a Serial Do It Yourselfer
DIY Halloween Centerepiece at House by Hoff
Modern Farmhouse Halloween Entry at Tatertots and Jello
Halloween Nougat Candy at A Pretty Life
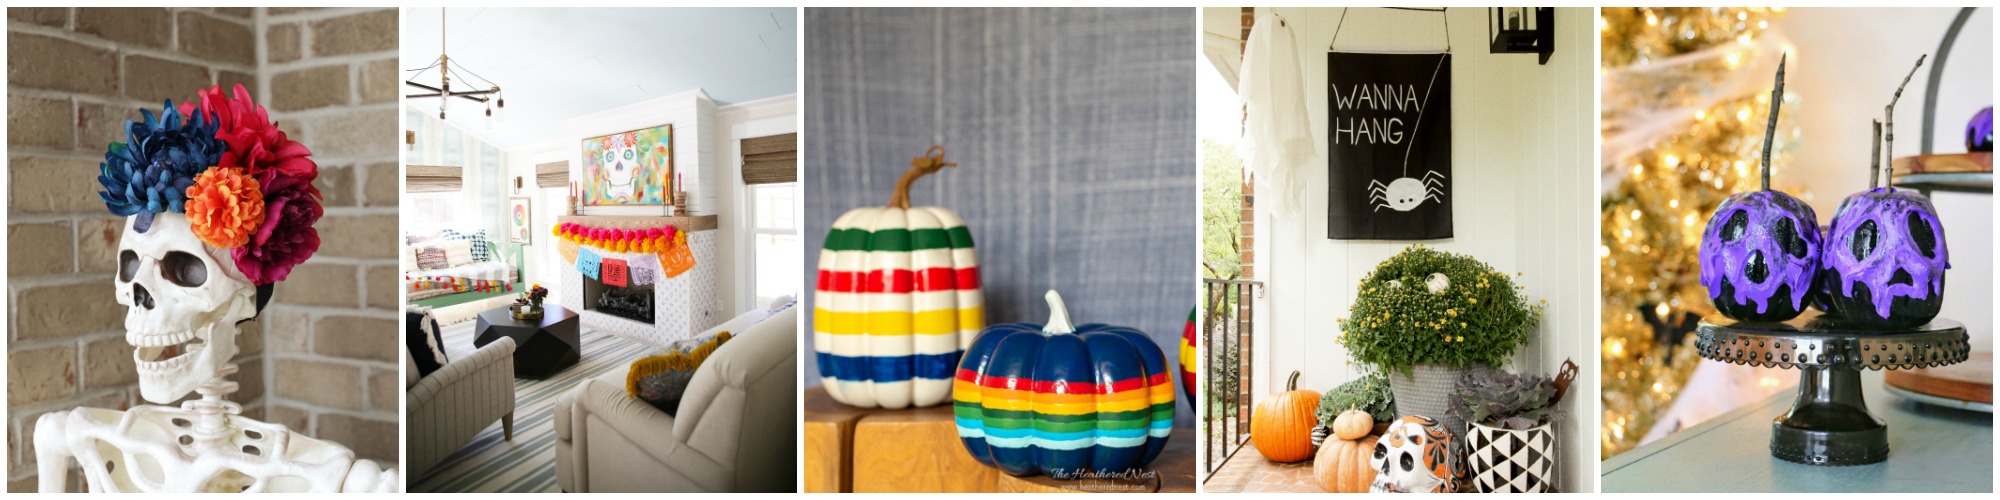
DIY Halloween Floral Headband at Two Twenty One
Halloween Mantel with Free Printable at The Handmade Home
Painted Hudson’s Bay Blanket Pumpkins at The Heathered Nest
DIY Halloween Flag at Cassie Bustamante
Poison Apple Pumpkins at All Things With Purpose
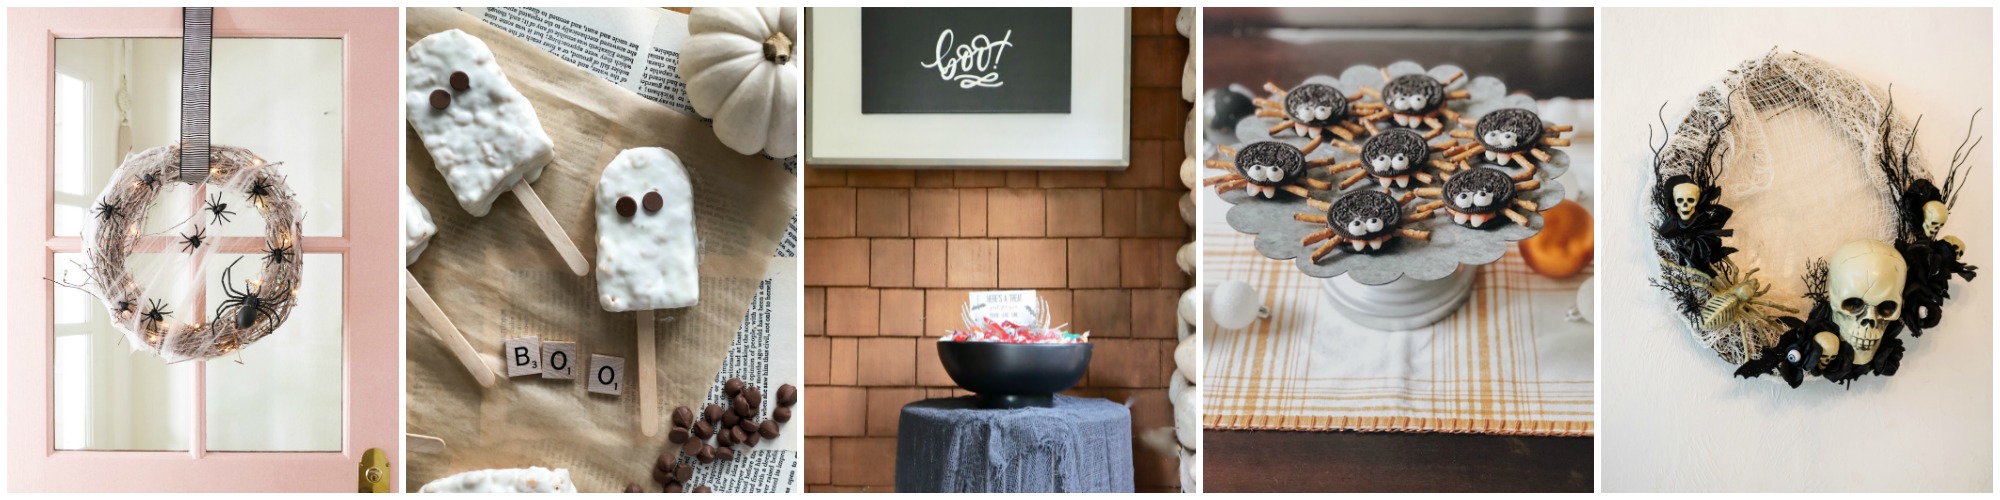
Easy DIY Halloween Wreath at Modern Glam
Ghost Rice Krispie Squares at Life is a Party
How to Make a Halloween BOO Sign at My Sweet Savannah
Silly Spider Cookies at She Gave it a Go
Creepy Halloween Wreath at Hallstrom Home
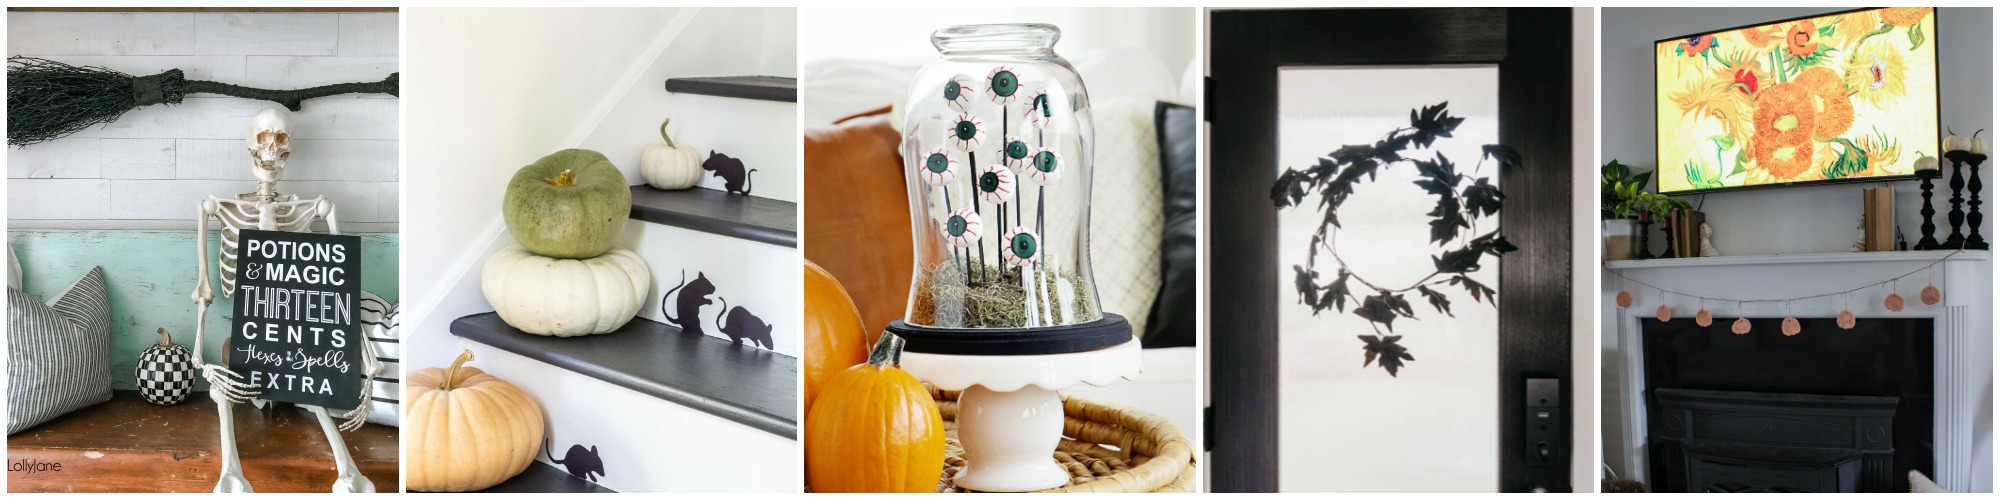
DIY Potions and Magic Halloween Sign at Lolly Jane
Paper Staircase Mice at Sincerely, Marie Designs
Spooky DIY Eyeball Terrarium at Paint Me Pink
DIY Minimalist Halloween Wreath at Lemon Thistle
DIY Salt Dough Garland at Aratari at Home
Halloween not your thing?? Check out how I gave this flatware box that was also less than $2 a more respectable makeover:

See how pretty it turned out HERE!
One more project done!!
If you missed any of these makeovers, you can catch up below:
Grandma’s Footboard Repurposed
Cottage-Inspired Drop Leaf Side Table
I won’t be back tomorrow since I posted today, and I will be heading out of town to a conference next week, but I’ll be back on Tuesday with a trip to my booth! It’s been a while!
UPDATE: Check out what’s been happening in my booth HERE now!
Enjoy the rest of your week and have an amazing weekend!!
XOXO,
![]()
Don’t Miss a Thing!
If you like what you see, there are several ways to follow along!
Email * Instagram * Facebook * Pinterest * Twitter


Mary Kaiser says
How fun is that for Halloween! That turned out spooktacklar!! Looking forward to seeing your booth again, and I wish I lived closer so I could go to see it in person!! Have a great weekend.
Christy says
Thank you, Mary! It’s been a while since I shared my booth and we had a busy Summer, so it will be fun to see what came and went this time! Enjoy the rest of your week and the weekend too! XOXO
Mariele says
I hate Halloween… but every year I look forward to YOUR Halloween! You do such a great job, I just love it. I always share it with family and friends. I don’t know how you do such an amazing job, but you surpass every magazine I’ve ever seen.
This was so creative!! 🙂 <3 Using tissue paper to mimic leather was a real stroke of genius. And the skull head with a flower on it on her vanity reminds me of having a mannequin head with a wig on it, lol.
Curious, though–the sparkles looked nice, why did they not work out?
Christy says
Aww you are so sweet, Mariele, thank you!! I don’t do blood and gore…I just like having fun with the skeletons! The sparkle spray paint looked kind of cool but had I not already had it, I wouldn’t have spent extra money on it. 🙂 XOXO
cassie bustamante says
looks so good! love the texture you added to that box and love the whole setup!
Christy says
Thank you, Cassie! XOXO
Jody says
Very cool and I am in lust with the pumpkin. I am not as talented as you but I have fun trying.
Christy says
I’m so glad you like it, Jody! That was a fun project and yes, the whole point is to have fun with it! XOXO
Christina in SW FL says
Wow, Christy, you turned this into a great Halloween decoration! Love what you did with the skeletons and the tissue paper was a brilliant addition. The gold highlights are so spot on! Way to go!!
Christy says
Thank you, Christina! This was a really fun one to do! XOXO
Larissa ~ Prodigal Pieces says
Just too funny! The skeleton at the desk…🤣
Christy says
Ha ha I just love setting up scenes with my bony friends! 😀
Jan says
You are so creative Christy! I just love this Halloween box! I look so forward to your creative emails every week!
Christy says
Thank you so much, Jan!! I truly appreciate that! XOXO
freidia Martindale says
Freaking Awesome!
We love your Halloween Ideas!
Christy says
Yay!! Thank you so much, Freidia!! XOXO
sharon austin says
Love it; Halloween is my jam!! I have two of these sitting around, so who knows? Maybe I’ll use one like this. Thanks for the inspiration!
Christy says
Yay! Girl, I love me some Halloween too! XOXO
Phyllis says
Ok. It is official – you are amazing!!
Christy says
Aww you are so sweet, Phyllis! Thank you!! XOXO
Nanette says
Fabulously creepy; I love the transformation! It would also look cool with a skeleton hand partially sticking out of it with perhaps some rings on!
Christy says
Thank you, Nanette! Great idea!! XOXO
Marty K says
So cute! I love it!
Christy says
Thanks, Marty!! XOXO
Ellen Shook says
I do not do Halloween any more but this is about the cutest thing I have seen that IS Halloween. I have used that tissue paper trick before on a tray, using bronze tissue paper. I think I rubbed it with antique wax or glaze and it did indeed look like leather. Thanks for jogging my tired brain cells this a.m. 👻
Christy says
Thank you, Ellen! Ooh I bet your tray looked amazing!! XOXO
Cheryl Atkinson says
Christy, you never cease to amaze me! This is awesome. Does this just come natural? Maybe i need to meditate and clear my brain. LOL
Your biggest fan,
Cheryl
Christy says
I always appreciate your encouragement and kind words so much!! I don’t usually start out knowing exactly what I want to do with a project…it usually evolves as I go and I don’t stop till I’m happy ha ha! Enjoy the rest of your week!! XOXO
LeAnn Hileman says
oh my gosh girl, this is fabulous! The creativity is wonderful!
Christy says
Thank you so much, LeAnn!! XOXO
Jo-Anna says
OH wow what a creative project!! I’m with you…I love Halloween so much! I love how this came together, it looks perfect on your lady’s dressing table!
Christy says
Thank you, Jo-Anna! Halloween is just so fun and anything goes! XOXO
Debbie in TX says
Awesome, awesome, awesome!!! This looks perfectly creepy and old. The tissue paper is a really neat trick that I did not know about. I’m like you, with Halloween bringing out the kid in me. Every October I look forward to all the wonderful photos of your Halloween decor. Way to go, Christy!
Christy says
Thank you, Debbie! I know you love Halloween too! It is just so fun!! XOXO
Ange says
All I have to say is, OMG! ❤️❤️❤️
Christy says
Ha ha I guess you like? Thanks, Ange!! XOXO
Addie says
Creepy good!!!
Have a good weekend!!!
Christy says
Thank you, Addie!! You too! XOXO
Denise - salvagedinspirations.com says
Omgosh…what fun! Looks amazing Christy! XO
Christy says
Thank you, Denise! I just love Halloween! XOXO
Jennifer S. Hadfield says
This is so creepy and creative. SO fun! I pinned it to my DIY Halloween board so we can make it too!
xoxo
Christy says
Thanks, Jen! It was really fun to make!! XOXO
Marci says
Christy….. great job as always. I enjoy seeing your Halloween decorations and I have gotten a lot of ideas! I’m going to try that black tissue paper idea on a project I am going to be starting soon. One question though…. the pictures of the people holding their heads are a hoot. Did you buy the pictures or did you make them yourself?
Christy says
Thanks, Marci! Those pictures were actually a free printable that Pottery Barn was offering several years ago. That sounds odd now…Pottery Barn offering free printables, but yep! They no longer have them available on their site, unfortunately. They are one of my absolute favorite things to decorate with! You can try googling them? XOXO
Dannyelle says
Such a neat spooky effect. Great makeover!
Christy says
Thank you, Dannyelle! It was really fun to do! XOXO
Krista says
That is so creative and turned out great! It’s spooktacular. Thanks for sharing on the blog hop.
Christy says
Thanks, Krista! You know I live some spook in my Halloween lol. Thank you for allowing me to join in the fun! XOXO
Rhonda Hallstrom says
What a creative and spooky idea!! Love it
Christy says
Thanks, Rhonda! XOXO
April N Hoff says
This is SO cool! It’s like a work of art!!! Another amazing project, friend!!
Christy says
Aww thanks, girl! I appreciate that! XOXO
heather thibodeau says
Wow! I NEVER would have thought to try that with the tissue paper! It added such an amazing effect! You’re so talented. Happy Halloween!!
Christy says
Aww thank you so much, Heather!! Happy Halloween to you too! XOXO
Jewels says
Christy, I think this is my favorite DIY you have ever shared! It is so cool!!!
Christy says
Aww yay!! I’m so glad you like it, Jewels! Thank you!! XOXO
Sue Duffy says
Love the box, too! Do you ever sleep?
Christy says
Thank you, Sue! Ha ha! XOXO